The page provides instructions on how to add the ITA Blockchain network to your cryptocurrency wallet.
To interact with ITA Blockchain, you can use any crypto wallet that supports the addition of custom networks.
This guide demonstrates the process using MetaMask, one of the most popular wallets, and provides the necessary parameters for manually adding the network.
We recommend using MetaMask or Rabby wallets, as their compatibility with our platform has been thoroughly tested, and they fully support integration with the ITA Blockchain user dashboard.
Download and Install
Visit the official Google Chrome Web Store or the appropriate extension store for your browser (e.g., Chrome, Firefox, Brave).
Perform Basic Setup
Create a new wallet and securely store your seed phrase. If you already have a wallet, choose the restoration option and enter your seed phrase.
If you prefer to add ITA Blockchain manually, follow these steps
Open MetaMask and navigate to "Settings → Networks"
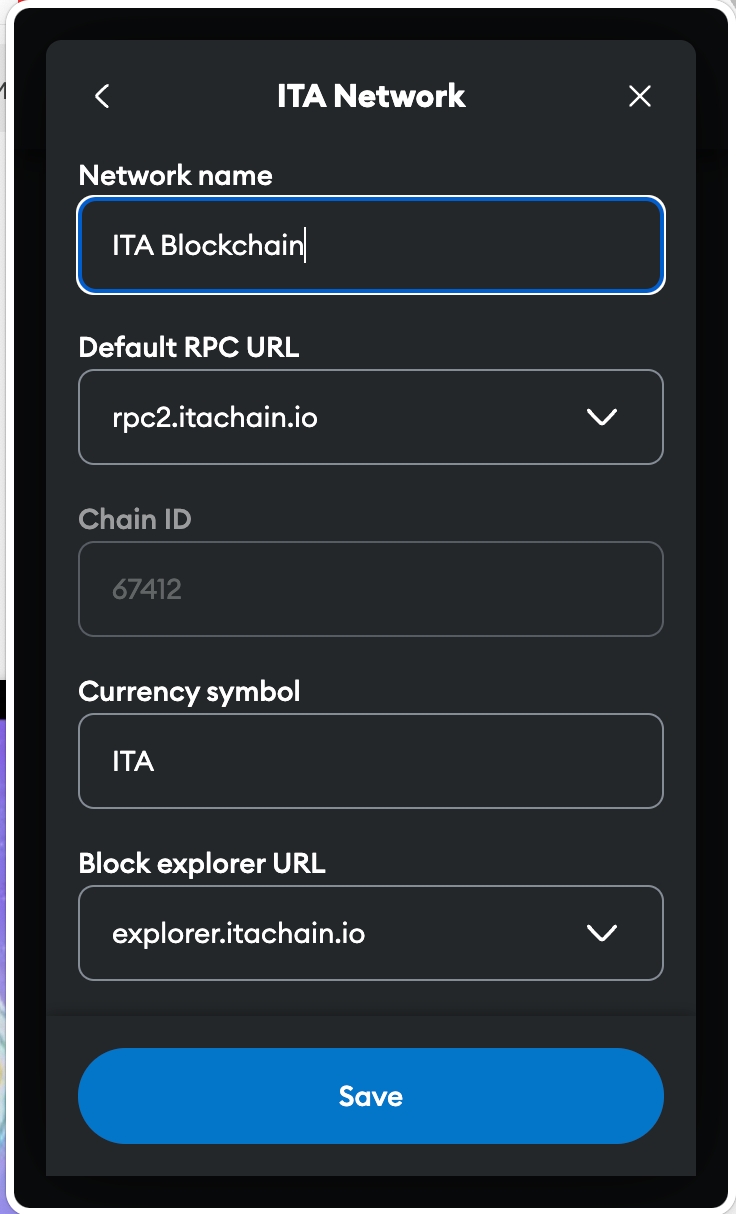
Click "Add Network Manually" and fill in the following fields
Network Name: ITA Blockchain
RPC URL: https://rpc2.itachain.io
Chain ID: 67412
Symbol: ITA
Block Explorer URL: https://explorer.itachain.io
Click "Save" to complete the setup. The ITA Blockchain network will now appear in your MetaMask.
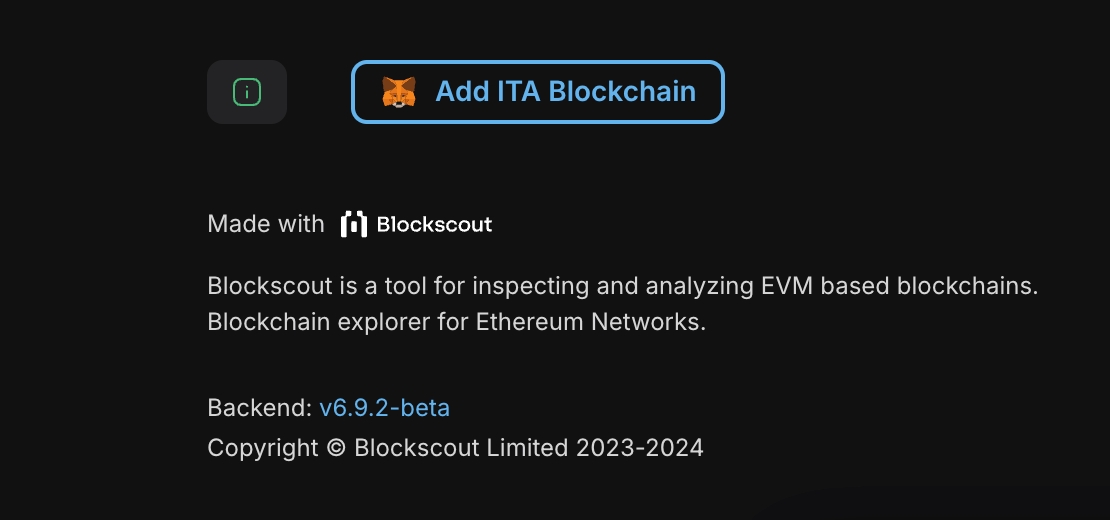
The simplest way to add ITA Blockchain is through an automatic setup from our official resource.
Go to the block explorer - https://explorer.itachain.io/
Scroll down to the bottom of the page and click “Add ITA Blockchain”.
A MetaMask pop-up window will appear. Confirm the addition of the network by clicking "Approve".

